Sew Bee Wonky is a Flickr group I'm in, and if you're interested in joining, please visit it and ask to join. We could use some more members. What we do: Each month, one person is the recipient. S/he chooses some kind of block for everyone else to make from their own stash, and provides a tutorial or link to a tutorial. Everyone else makes two blocks and sends them to the person whose month it is.
My month is July, but since we don't have a June person, I'm posting my block now.
For those of you who are familiar with Gwen Marston's books Liberated Quilting and Liberated Quilting II, I want little basket blocks. Here are my wishes for these blocks:
- please make 2, and make them different from each other (the background can be the same)
- finished blocks are to be no larger than 8" wide or tall
- I'll be adding any fabric necessary to fit them into the finished quilt, so don't worry about sizes all being the same
- BOLD colors - I want the colors to SHOUT - to say "PINK!!!!" for example. No light pastels or dull drab Civil War tones. I"m thinking pink, yellow, orange, lime/chartreuse, red, royal blue, turquoise, purple (but not lavender). It's your choice as to what color is background and what color is basket.
- Please make the handles in a different fabric or material from the basket. You can do a bias handle out of fabric, or you can use large rick-rack, fancy ribbon, cording, yarn, or something else.
Here's what I did yesterday:
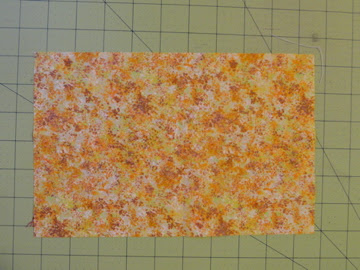
I started with a piece of fabric that was 6.5" x 10". Ignore the ugly color.
Cut it into two pieces - they can be unequal in size. Set one aside to make the second basket.
Cut a basket. It can be short and fat or tall and skinny - it's up to you.
Lay it on top of the background fabric, and then cut the background fabric even with the top of the basket.
With both pieces right side up, place the basket shape on the bottom half of the background piece. Shift the basket slightly to the right, and cut along the left side of the basket. Then shift the basket slightly to the left, and cut along the right side of the basket.
Sew the trimmed-off left and right background pieces to the basket shape. You've now completed the bottom section of the block.
Trim the edges - you will either be cutting more off the bottom, or a piece off the top - to align the top and bottom pieces.
Decide what your handle will be - whether it will be a fabric handle, or one made from rick-rack, ribbon, lace, cording, fancy yarn, or something else. But make sure it's a contrasting handle. As Gwen Marston says, "the handles are where the action is."
Pin the handle to the top piece of fabric, with the ends hanging loose. When you sew the top and bottom of the basket together, it will anchor the ends of the handle. You can then either appliqué or top-stitch the handle down. I hate to appliqué, so I just top-stitched mine down.
Please let me know if you have any questions!


2 comments:
Your tute is perfecto!
I just love these baskets. Will make a great quilt!
Post a Comment